DOCUNET: A web-based PROJECT MANAGEMENT AND COLLABORATION SERVICE that
addresses the needs of the design and construction fields. DocuNet offers clear and efficient
communication; software that is easy to integrate and navigate; and documented records for
future use.
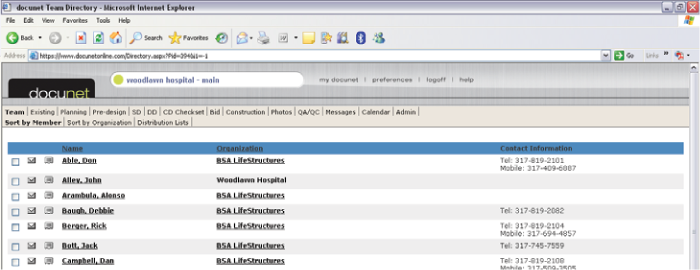
It's a convenient way to look up contact information about individuals on the project or to send an e-mail to one or more members of the project team (not the same as the MESSAGES module as shown below).
- To send an e-mail, put a check mark in the box by the individuals' names and select "send email".
- When sending emails using this method, you must select your own name as a message recipient if you want to have a record of the message sent.
- An alternative method to sending project related emails that you want documented within Docunet is to use the "Messaging" module. (shown below)
Please remember, team members do not like to be inundated with unnecessary emails so please notify sparingly.
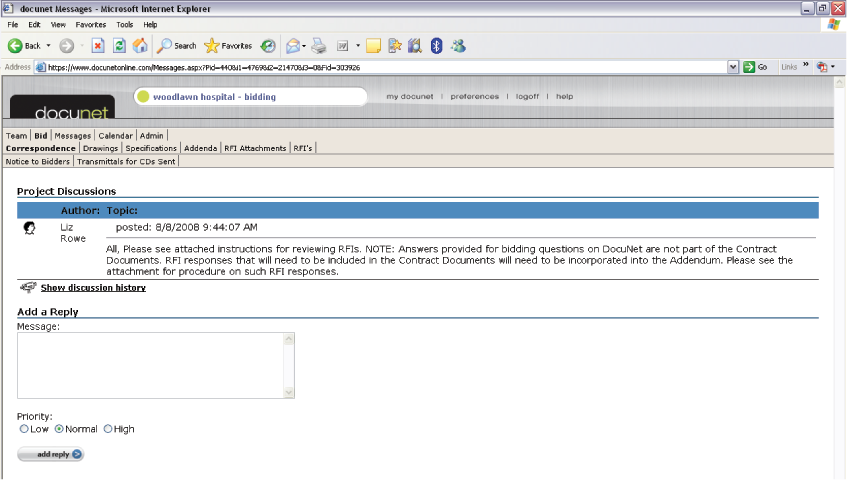
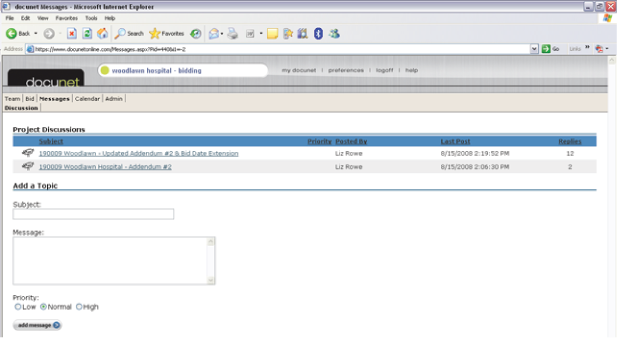
- A good project-related communication tool.
- Messages are typically available for viewing by all team members, although access can be limited.
- Select the messages tab from the first row on the beige line, once you have added a subject and message you will be directed to the notification page, you can notify certain individuals or the entire team.
- All messages are documented within Docunet, a history of who has created the file as well as who has viewed it with a date and time stamp are also seen.
Return to top
Each Tab may have several folders/subfolders in it such as the Construction folder shown above.
Return to top
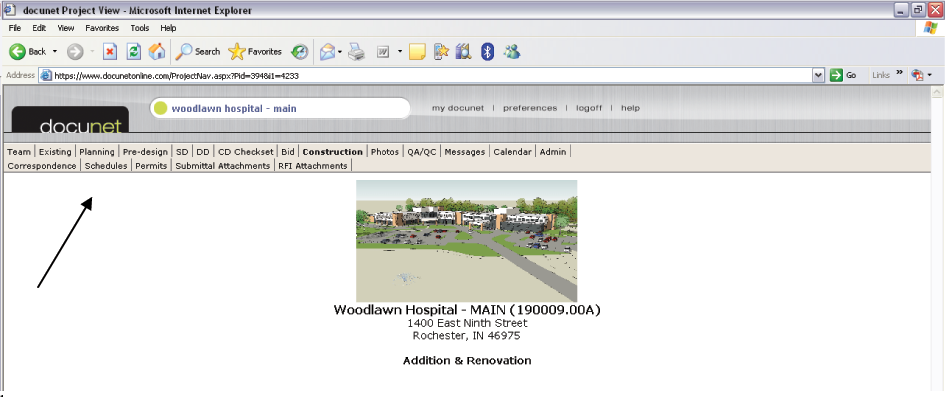
To upload files: (in general, whether it is a Submittal, RFI, Pr Quote, Correspondence, etc.)
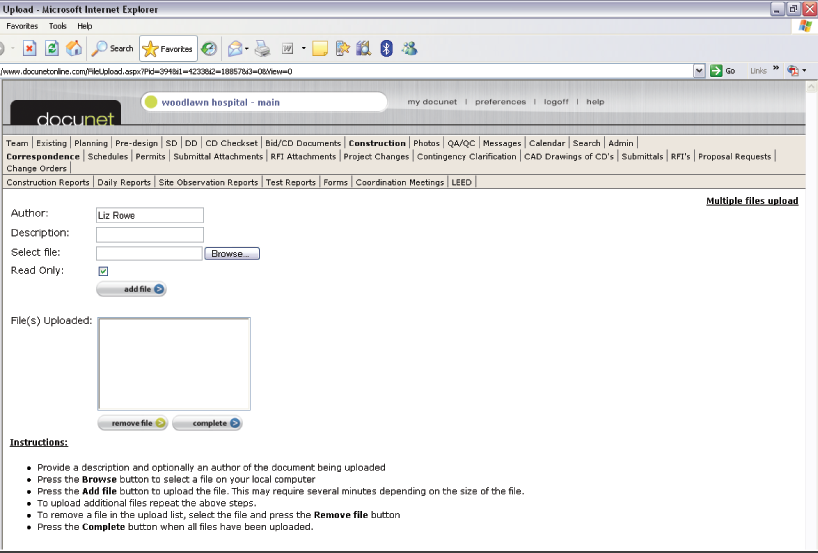
- Select a folder where the file should be uploaded and click on "upload files"
- Next, use the Browse button to find your file. Only one file may be uploaded at a time and in reverse order to ensure files are in correct order in folder (Multiple file upload is explained on the following page)
- If you do not fill in the description box, the filename will become the description, along with the extension of the file (i.e., jpeg, pdf, tiff)
- Then, click on "Add File". The button below will then change to say "Uploading..."
- When file is uploaded, it will appear in the File(s) Uploaded box. If you see the wrong file or have duplicated a file, click on that file and press on Remove File.
- When all files you wish to upload are in the box, press Complete, the notification screen will then come up. Please notify members on the project sparingly so they are not inundated with unnecessary emails.
- By using the messaging tool and skipping notification at the end of uploading, simply sending a message is allowing for notification of the uploaded drawings and only one email is being sent to members.
Return to top
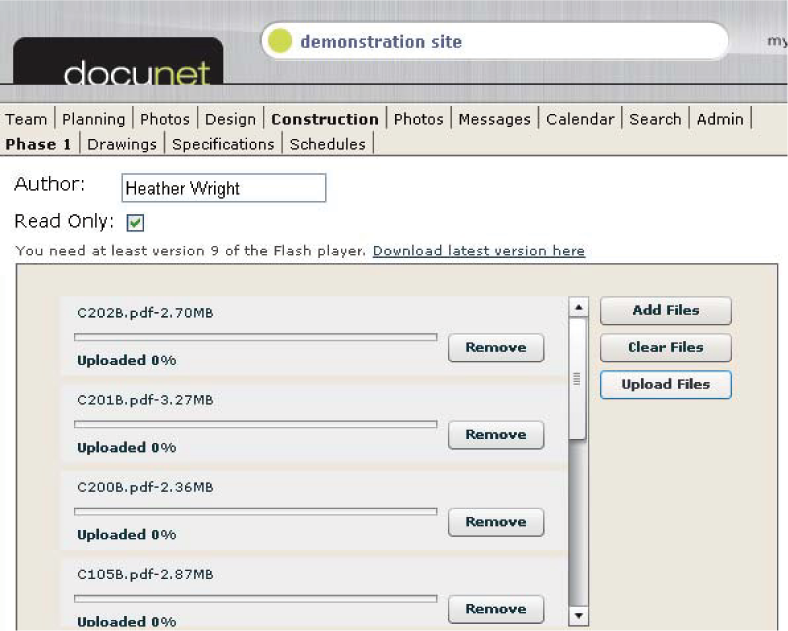
Multiple File Upload:
- Once in the appropriate folder and "upload files" has been selected, select "Multiple Files Upload" located in the upper right hand corner.
- Click on "add files" and select the files you wish to upload – When selecting the files, select them in reverse order so they will upload in order, for example, you would first select C500, C400, C300, etc.
- Select "Upload files"
- The next screen will allow you to change the description if you wish, and select "submit"
- The option to notify members will be available or you can choose to "skip notification" and notify at the end of your uploading - it is not necessary to notify after every upload as members do not like their inboxes to overflow with notifications.
Return to top
RFI Attachments , Submittal Attachments, and PR Quotes Folders:
- RFI Attachments folder: Contains any document necessary to clarify a question being asked by RFI or could contain an RFI as received from Subcontractor.
- Submittal Attachments folder/subfolders: Contain submittals which have been uploaded by the prime contractor or subcontractor. (See Submittal Attachments folder below.)
- PR Quotes subfolder within the Project Changes folder: Contains Contractors' quotes uploaded in PDF form with cost breakdown to supplement the quote in Proposal Request module.
- These folders are usually kept under the construction tab but can be arranged to any folder in the project
RFI Attachments Folder:
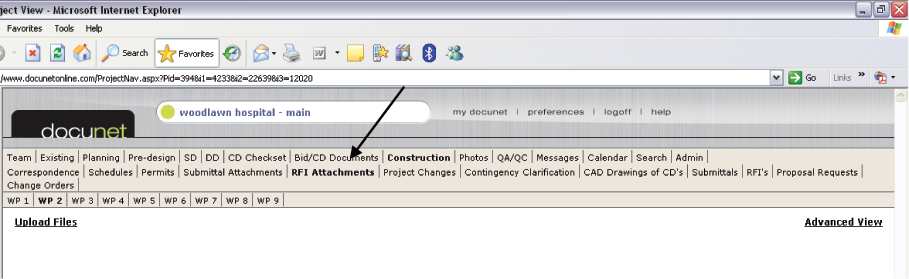
Submittal Attachments Folder:

PR Quotes Folder:

Return to top
SUBMITTALS:
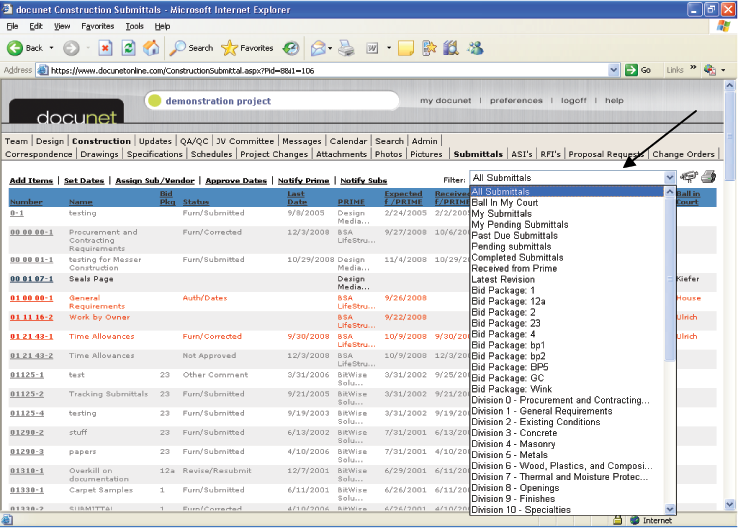
Submittals can be filtered for your convenience, as shown above.
Return to top
SUBMITTAL MODULE - INSTRUCTIONS TO CONTRACTOR:
- Contract Administrator will set up the log and you will be notified by e-mail of items in your court.
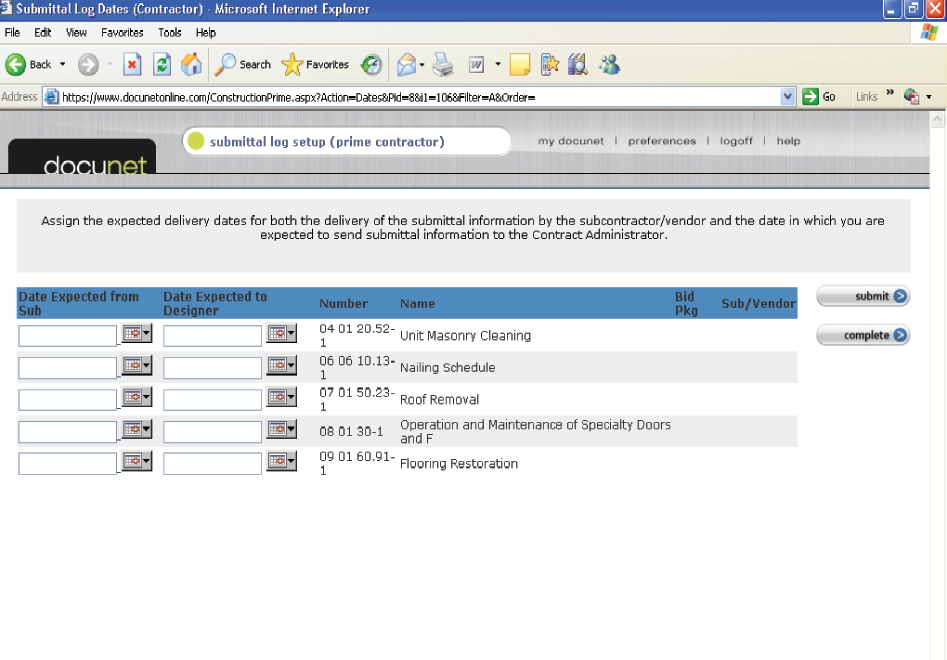
- Go to the log and choose "Set Dates". (see next page)
- Fill in the "Dates Expected to Designer"
- Hit "Submit"
- Hit "Complete"
- You can set the dates for one or several items at one time.
- The dates will automatically be forwarded to the Contract Administrator, who will approve the dates, moving the ball back into the Contractor's court.
- After dates have been authorized, you can begin sending submittals.
- FIRST, upload the submittal document to the "Submittal Attachments" folder, if applicable.
- Then, go to the submittal log and choose the spec section number you wish to submit.
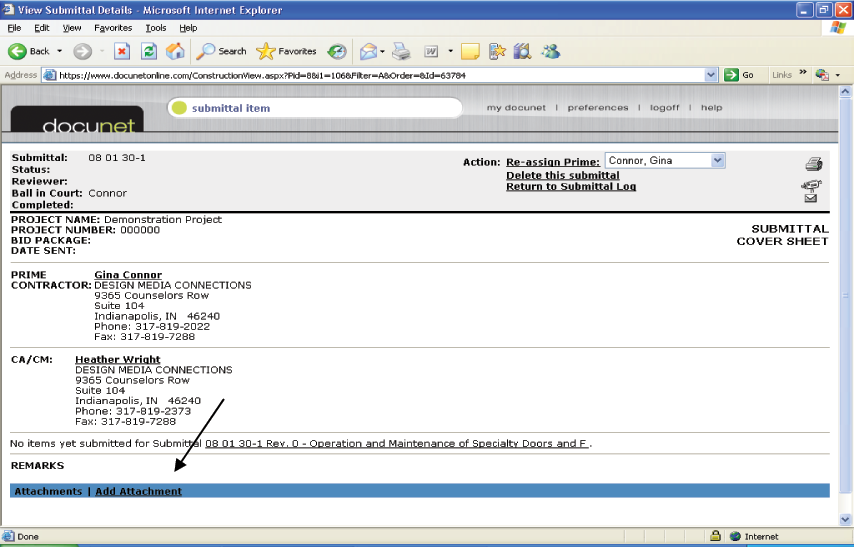
- Open the submittal item. (see next page)
- Next, click "Add Attachment" at the bottom of the screen.
- Then, fill in all the blanks.
- Click "Send" submittal item. Contract Administrator will get an automatic notification from DocuNet and forward for review to the appropriate person(s)
"SET DATES" SCREEN:
SUBMITTAL COVER SHEET:
Return to top
RFI Log:
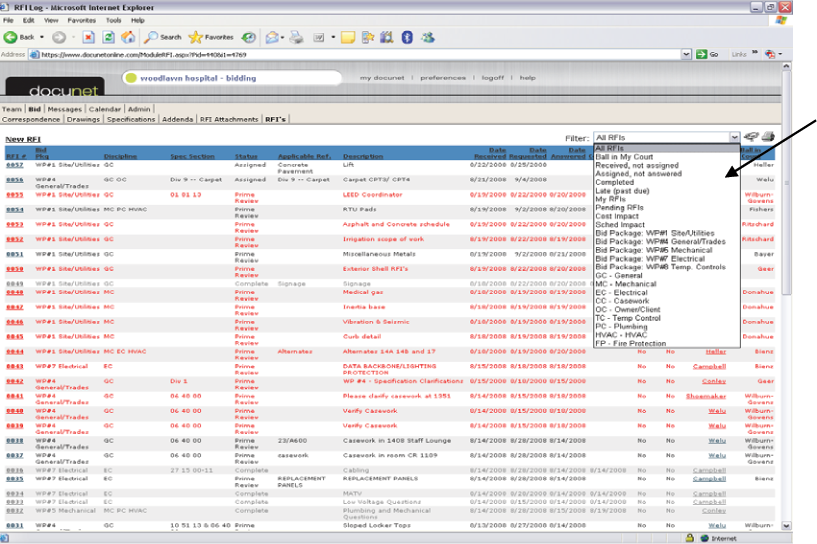
RFI log can be filtered as shown above, for your convenience.
Return to top
RFI INSTRUCTIONS TO CONTRACTOR:
- Upload any attachments for the RFI in the 'RFI Attachments' folder, most commonly placed under the construction tab OR upload directly from the RFI page by selecting add attachment, this will allow you to browse for files to attach.
- Go to the RFI Log.
- Click on "New RFI" in the upper left hand corner, a blank RFI form will appear on the next screen as shown below.
- Choose the appropriate discipline from the drop-down menu (GC, MC, EC, etc).
- Choose the appropriate bid package from the drop-down menu (WP#1, WP#2, WP#3, etc), if applicable.
- Fill in the blanks (Applicable References, Spec Section, Contract Drawings, Subject, Question, and Contractor's Suggested Solution).
- If you will have attachments, click "Add attachment" at the bottom of the page and add attachment.
- Hit "Submit" and the RFI will be routed to the Contract Administrator automatically.
*Note: If the "Add Attachments" box is checked, a screen will appear for you to choose attachments before completion. Then, the RFI will be automatically forwarded to the Contract Administrator.
New RFI:
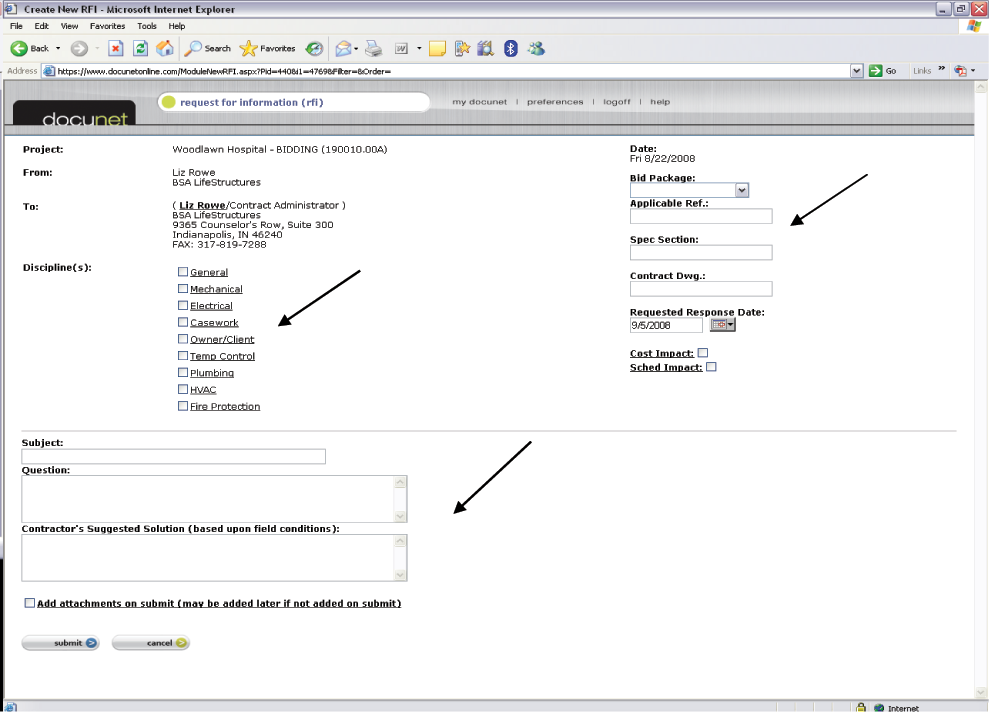
Fill in the appropriate blanks to process - once submitted it goes directly to Construction Administrator.
Return to top
PROJECT CHANGES DURING THE CONSTRUCTION PHASE:

The Project Changes folder contains subfolders for Clarifications, Proposal Requests, PR Quotes, Change Orders and any other documents as needed. Access to these folders can be limited by level or by individual. One way of issuing Clarifications, etc. is to post (upload) a file of the document on Docunet and notify all parties when the document is posted. A capital "T" in the cloud indicates that a comment was made by one or more persons regarding this document.
Example of a Comment:
Return to top
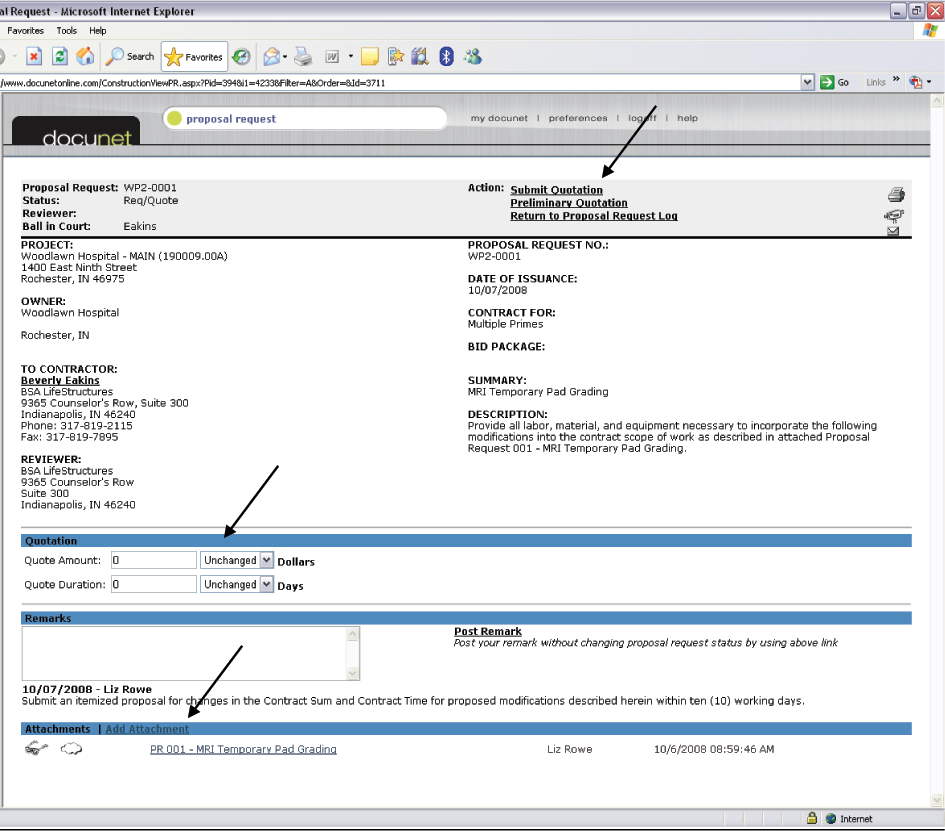
PROPOSAL REQUEST INSTRUCTIONS TO CONTRACTOR:
- Contractor will review Proposal Request and provide quote information.
- Upload your quote to ‘Project Changes' subfolder titled ‘PR Quotes', usually kept under the construction tab.
- Now, open the Proposal Request you are submitting a quote for and attach your quote to the bottom of the PR.
- Next, choose from the drop down menus increase or decrease the Contract Dollar Amount and Contract Duration.
- Then, enter the dollar amount and number of calendar days for the quote. (Do not use " $")
- Lastly, choose the action at the top right of the screen to ‘Submit Quotation' and an automatic notification will be sent to the Contract Administrator.
Return to top
Helpful Tips and Tricks
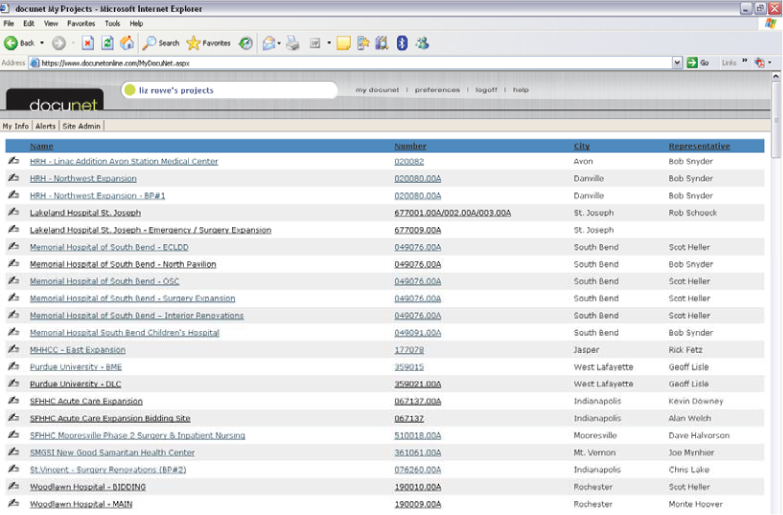
- If "lost" within a project, simply click on the "My DocuNet" button located in the upper right hand corner of the screen to bring you back to your projects page
- By selecting the print request icon you easily send in a request to have your drawings printed out - it will prompt a new page to open and you can select multiple files to be printed
- By using the refresh button you can update new uploaded information in real-time
- Selecting the "video camera" icon allows a log of listing participants showing who has accessed a particular file. It will also display dates and times that the actions were performed.
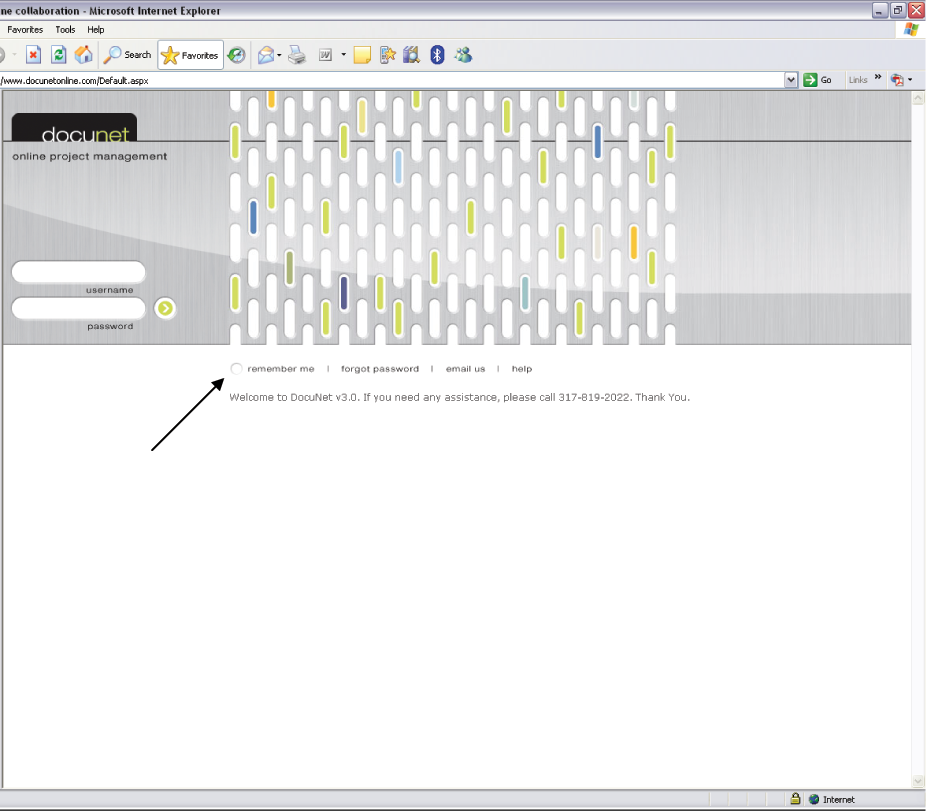
- If the "remember me" button is selected at the time of log in, it allows you to by-pass the log-in page and takes you right to your "My DocuNet" page
- Do not use special characters through out DocuNet in file names - it is okay for descriptions but for file names refrain from using any special characters such as $,*,%, etc. This will interrupt the archiving process at the closing of the project.
- There is a search feature that can be used to easily find a document - you can search your entire project list or just within a certain project itself. Selecting the search feature from your "My Docunet" page will search within ALL projects you are listed on; using the search feature within a project will search only within that project.
- You can turn off email notifications by clicking on the "preferences" tab in the toolbar located in the right-hand corner of the screen. Select notification and uncheck any notifications to turn them off. You cannot disable "ball in court" items.
Return to top
If you have any further questions please feel free to contact:
Jim Kiefer with Docunet Online, Inc.
317-435-4681
jrkiefer@mac.com


 under the "advanced view" or select the disk icon